Home / Information & advice / Topsoil & compost / Improving your soil / Using Rolawn Compost Soil Improver
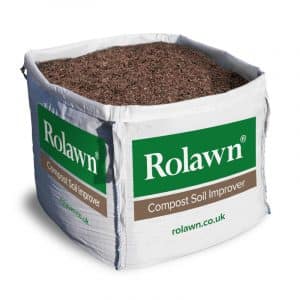
Rolawn Compost Soil Improver is a versatile product which can be used in a number of ways to add organic matter in the garden; as a soil improver or conditioner, as a mulch and also as a general compost.
As with any type of compost, always wear gloves when using this product and wash your hands after use.
Dig over the area in question. Spread a layer of Compost Soil Improver to the desired depth. Work the soil improver into the soil with a fork, incorporating it to a depth of 200mm, taking care not to disturb the subsoil.
If working in a planted area, do not dig too close to the plants or their roots.
Rolawn Compost Soil Improver can be applied at any time of year, but care must be taken to avoid compaction when the soil is wet, as it may damage the soil structure.
We recommend applying Soil Improver at the following depths to enrich garden soils with low levels of organic matter:
Soil Improver also makes an ideal mulch for beds and borders. Earthworms and microorganisms will gradually work it in to the soil below, improving the structure and fertility of the soil in the process. Apply a layer of Soil Improver to the required depth and spread evenly.
Mulching will also help to keep weeds at bay, retain moisture and protect plant roots from fluctuations in temperature. For this type of application we recommend a depth of 50 to 75mm to ensure good coverage and prevent sunlight from reaching weed seeds lying dormant in the soil.
See How to apply mulch or watch our How to apply bark mulch video for further advice.
Rolawn Compost Soil Improver is also suitable for use as a growing media, although we don’t recommend using it as a seed sowing compost.
Fill the pot or tray with compost and level off. Gently firm it down and then water well with a fine rose watering can and allow to drain. Dibble (poke) small holes in the compost and then, whilst holding the seedling by a seed leaf, insert the seedling into a hole to just below its seed leaves. Lightly firm around the base of the seedling and water in with a fine rose watering can.
Fill the pot or tray with compost and level off. Gently firm it down. Prepare the cutting from healthy non-flowering shoots. Insert the cuttings into holes in the compost, firm lightly and water in with a fine rose watering can. To retain moisture, cover with either glass or polythene, until rooted. Ensure that the cover does not touch the cutting. Pot on, when rooted sufficiently and generally when the plant is actively growing, i.e. from spring to early autumn.
Water the plant and allow to drain, before removing it from its existing pot. Fill the bottom of the new pot with a layer of compost and place the rootball inside the pot. Gradually fill the pot, gently firming as you progress and level off. Water in carefully.
Choose a container that has sufficient drainage holes or where necessary and practicable, create additional holes. Fill the container with compost and then add the plants. Once the planting is complete, firm gently and water in thoroughly.
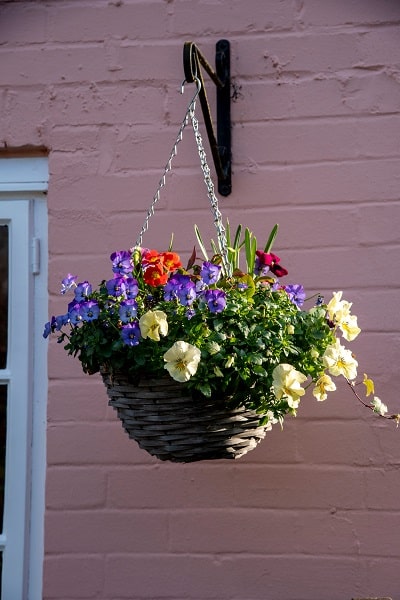
Place the basket on a surface which will keep it stable e.g. a pot or a bucket is ideal for rounded baskets. Line the basket before filling it with Soil Improver. To help create a ball of colour, where possible, insert plants through the side of the basket and liner as well as arranging plants on the surface. Once the planting is complete, firm gently and water in thoroughly.
Never let the compost dry out completely but avoid over watering. Approximately 4-6 weeks after planting, consider feeding on a regular basis, taking care to follow the instructions on the feed packaging.